I created this draft of what I wanted to do based on materials and stuff I already had on hand or knew I wanted to pick up....
Then I created a wall that was NOTHING like it haha I just feel so much BETTER when I have a plan....even if the end result looks nothing like the original thought. It gets my brain flowing and gives me the confidence to think outside the plan, if that makes sense.
Before I share the final wall....here are a few things I created for the wall to make it fun & functional:
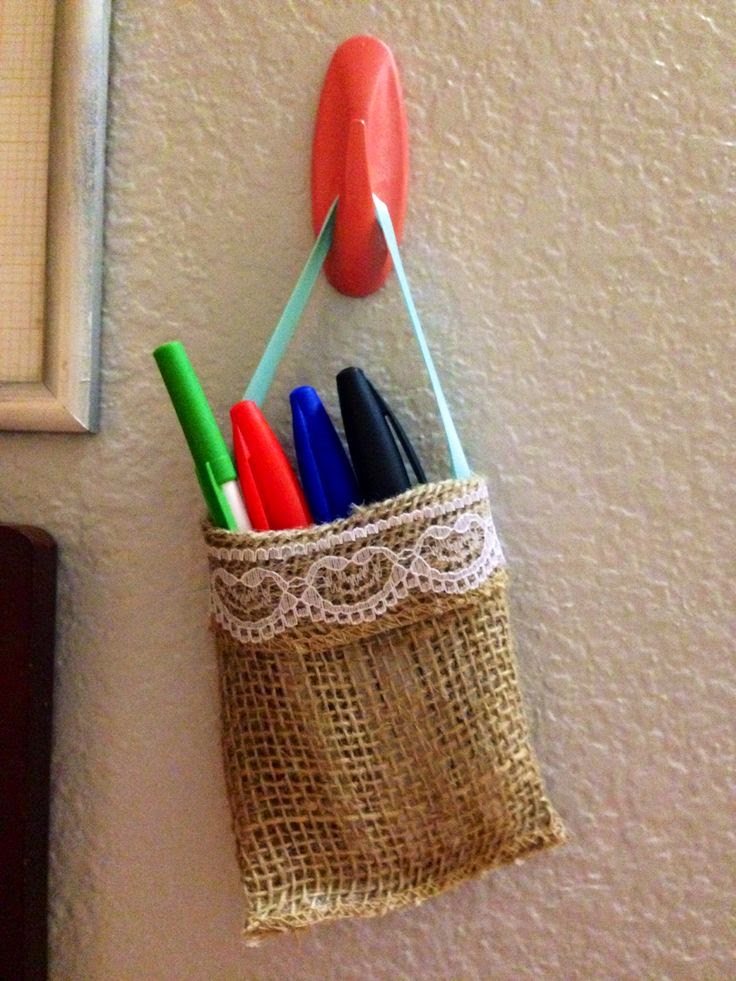
Our wall includes several DIY dry erase boards, so having markers at arms reach was essential to making sure this wall was functional and a REAL time saver. I used a command hook, but added a pop of color by spray painting it coral. I then created a fun pouch to store all our markers and pens. Here's how I made it:
Supplies:
-Piece of burlap
-Strip of white lace
-Hot glue gun and glue sticks
-Ribbon in your color choice
Directions:
1. Fold the burlap into a tube shape.
2. Glue the side together to create a tube.
3. Glue the bottom edges together to create a pocket.
4. Roll over the top edge of the burlap.
5. Glue the lace around the top.
6. Glue the ribbon to the burlap to create a strap.
On to those dry erase boards I was talking about....there soooo simple to make!! Here's how I did it:
Supplies:
-Picture frame
-Label (Stickers and scrapbook paper)
-Scrapbook paper
-Hot glue gun and glue sticks
Directions:
-Create a fun label using sticker and scrapbook paper (I created 3 boards with the following labels: To Do, To Buy and This Week)
-Glue the label onto scrapbook paper.
-Frame the paper.
Simple as that.....great, right!
I purchased the chalkboard arrow at Walmart for about $2 and then drew the arrow onto it with a chalkboard marker I already had on hand. I can't wait to share the finished product with y'all.
Do you have a family organization wall/area in your home? How useful is it? Lemme know in the comments below. :-D ~Kendra~


No comments:
Post a Comment